For my amazing girlfriend, Charlotte Spafford, I made an 18th birthday present. I thought it would mean more making something from scratch. It was really fun to do and I learnt lots so here’s an overview:
Ideas began to percolate. I gave myself about 5 evenings. This was perfect as Charlotte was working Wednesday through Friday so I could work in secret. Initially, the idea was a 3D print from work. Content was in the liquid state of mind. I knew it had to be romantic, full of love and an 18 somewhere for the great occasion! Such ideas came top me as I sketched both of us together in Photoshop. Joy. Love and art is peanut butter and jam.

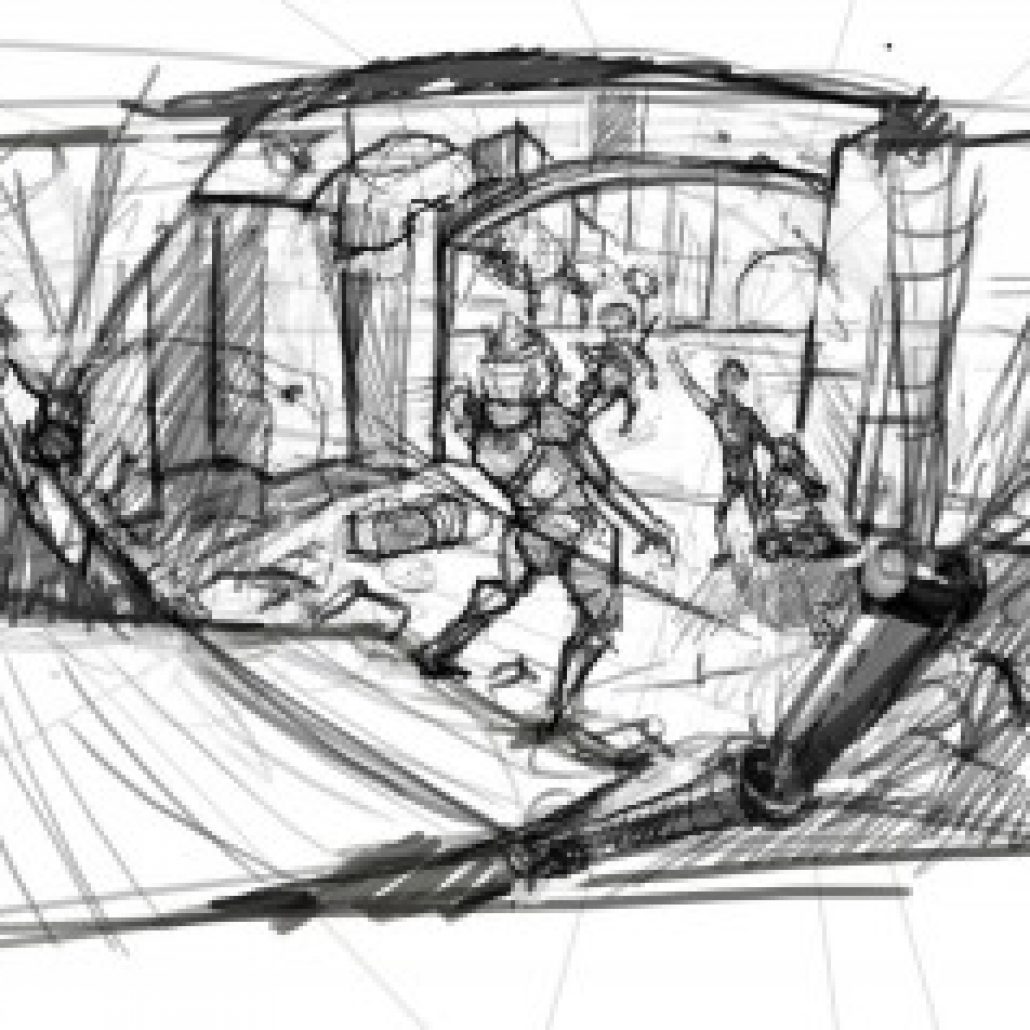
The ol’ marble, romantic, renaissance styled statue came to the mind through sketches!

(at this point it takes extreme faith in that you can pull your project off out of these gestural quickies…. it’s a proposed inner knowing about ability. I’ve never really sculpted anything in Zbrush before. It’s just a tool.)
Time to educate myself on the type of sculpture I was going to make. The trick is to refine a creative vision then do some background, targeted study. Scott Eaton mentioned it’s important to learn how to draw what you’re sculpting first. To be able to produce a drawing of what you’re created from understanding (no reference) requires hardcore drawing with reference. I’ve been told to test such understanding by study drawing then reproduce without reference. Here, I study knowing the vision and that every stroke brings me closer.

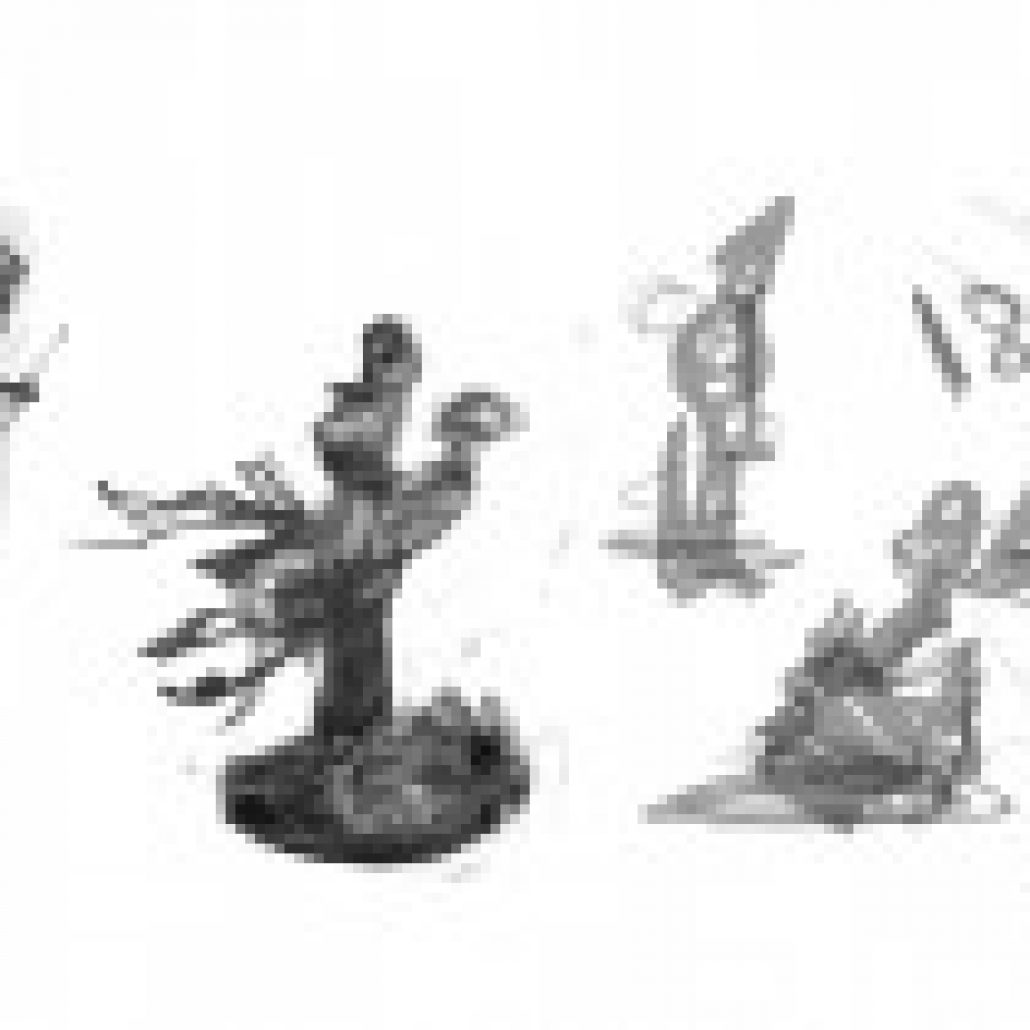
Quick ones to get balance, composition….. togetherness….

Also, collected reference imagery is important to have handy at all times. I return to such a beautiful collection to “get that feeling”, anatomical reference, ideas, textures, and real statue reference etc!

Below is the final sketch that carried me through the rest of the way. Although it’s quick and sketchy, I felt right about it. Time to introduce 3D to my 2D friend.

I made the extremely simply, low polygon count basemesh in Wings3D. All quads, identical for both me and Charlotte. I then tweaked higher densities to pull the male/female out of us in Zbrush….

Here I found something very useful in Z Brush. You can actually pose your characters on a separate Tool Layer. This enables us to pose our people, then have them return to the Jesus Pose for adding definition. Or, in my case, to restore a botched pose job.
Below is my first attempt at posing something in ZBrush. I have to admit, once familiarized, it’s the most intuitive and creative body poser around! Using the ctrl+click drag masks, I could easily rotate on joints with little deformation! I did a paint over near the end of one night. I think that introduces a whole new avenue of creative brainstorming to bring 2D and 3D together. Here I painted the number, base and our mops! The ideas just kept coming. I thought nerd glasses would make sense….. I ctrl+clickdragged them too (nerd)….

The final pose process below (on a new Tool Layer). Once again, I am really impressed with ZBrushed transform tools and masks

(The wrap around idea from the sketch is realized! Awesome!)
The final CG result with base:

And the result in Charlotte’s hand! Thanks to my favorite place, http://OffloadStudios.com for making dreams come true – once again! Oh and she really liked it hahaha

ps: I really like that hand.